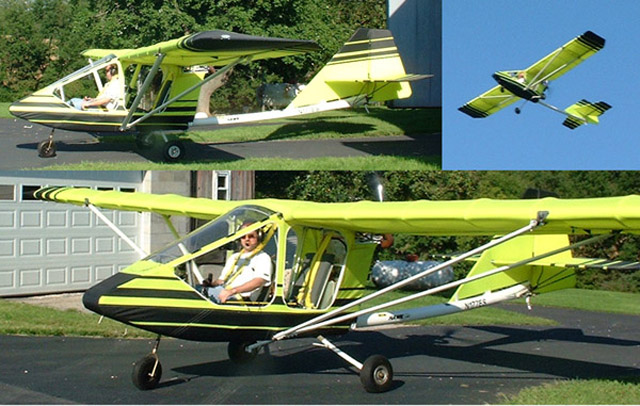
This page is a compilation of photos and information about N177ES- my
experimental aircraft, the CGS Hawk Arrow II. Comments are below
some photos.
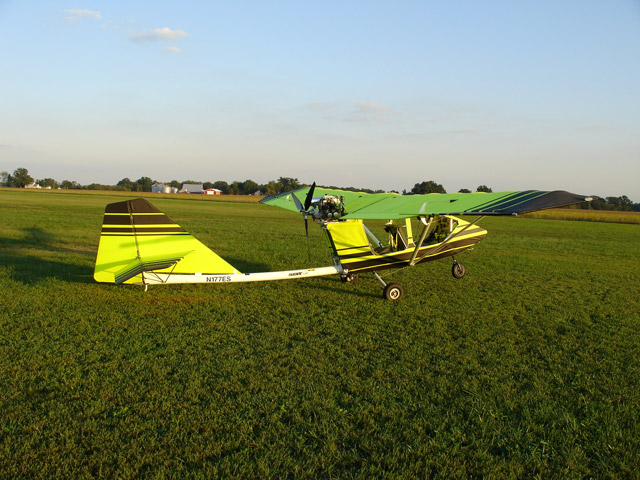
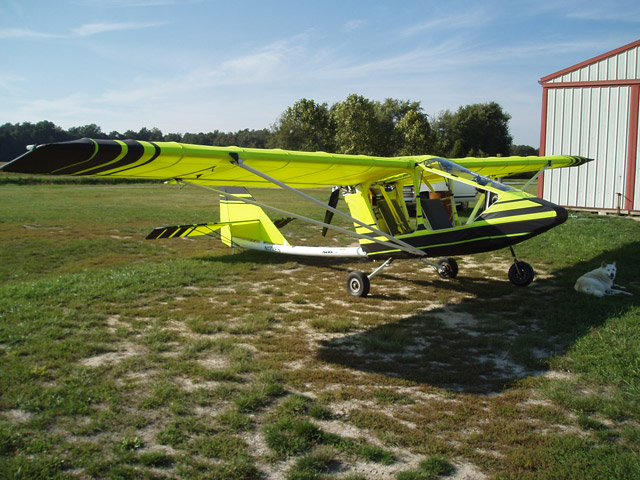
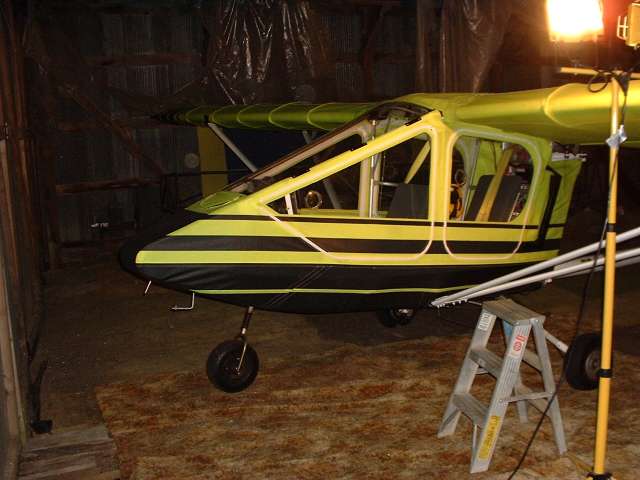
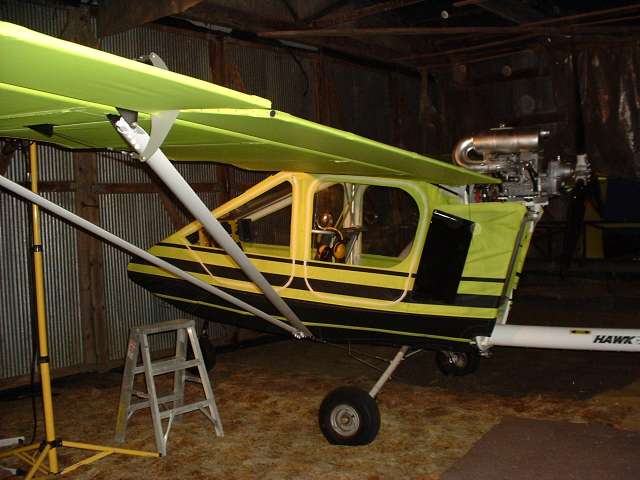
The Hawk bathing in the sun
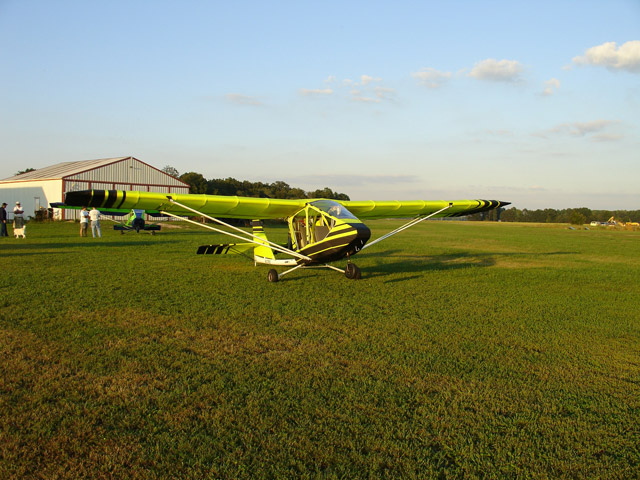
Another Hawk Arrow II can be seen in the background- flown by a local
FAA employee, along with two other Hawk owners and Mark Smith and
his dog, Pigtail. :)
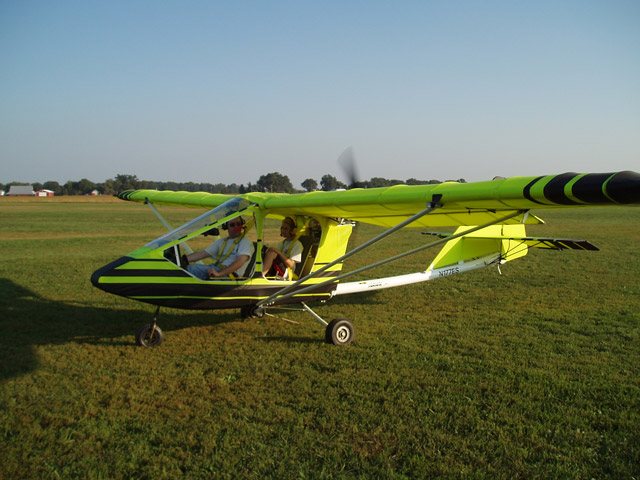
Hopping rides
Pigtail manages to find the shade wherever it goes.
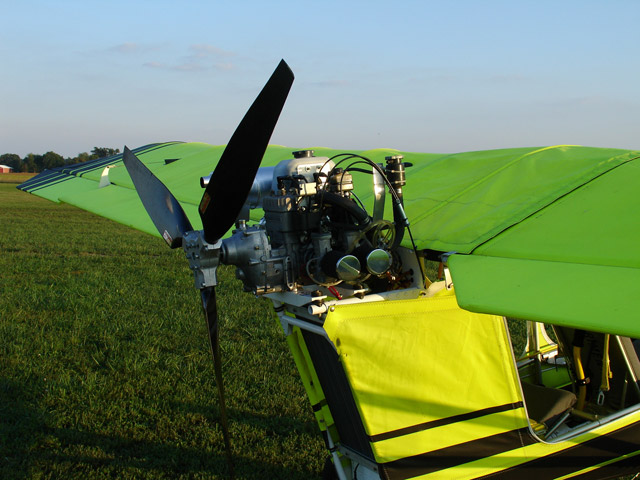
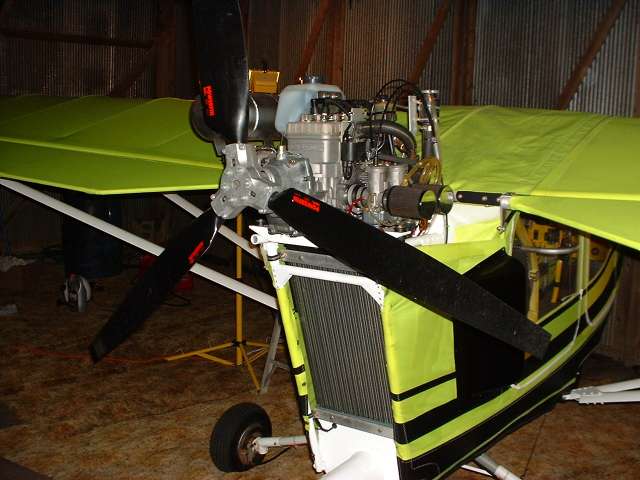
Rotax 582, ready to rock
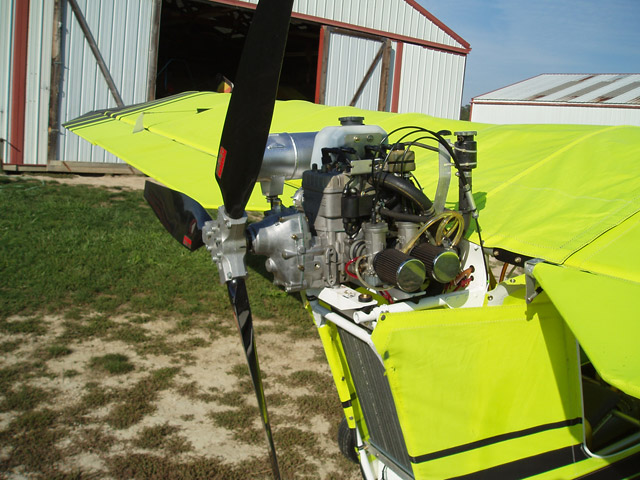
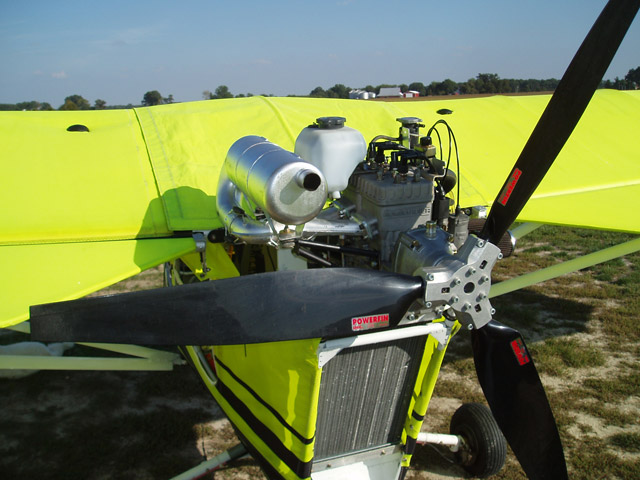
The VW Jetta radiator, coated exhaust, Powerfin prop, and Rotax oil
injection system are all clearly visible in this photo.
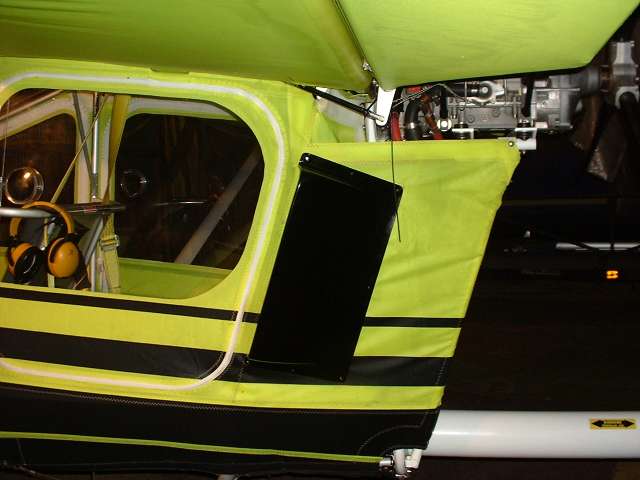
Doors on
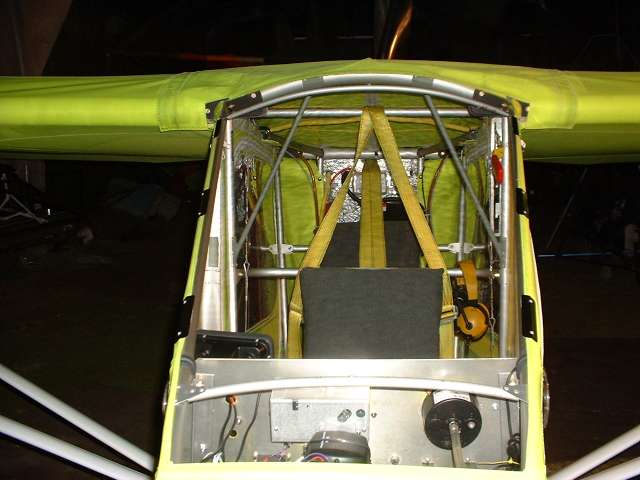
Front view into the cockpit
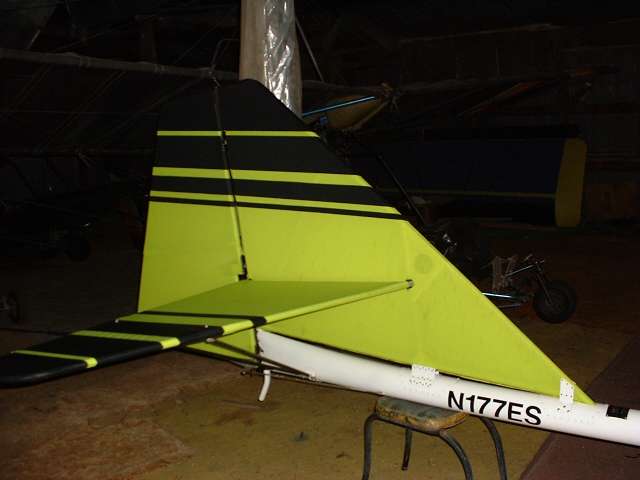
Tail
Air scoops and ELT antenna can be seen in this photo.
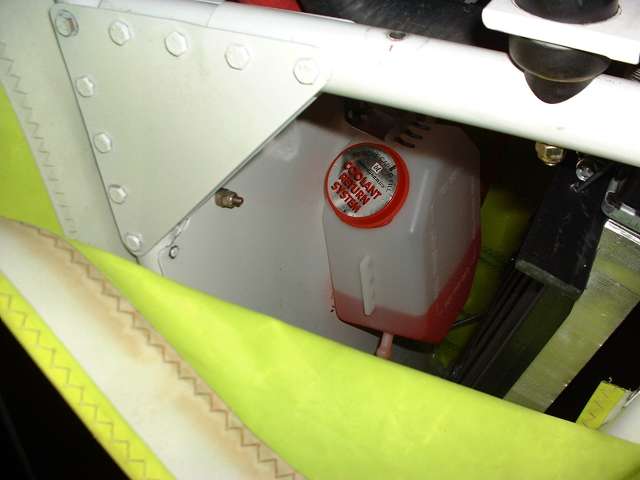
Coolant overflow container from Auto Zone.
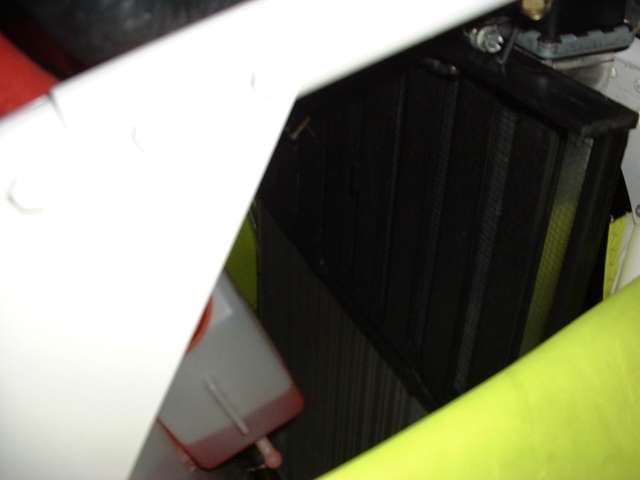
The remotely controlled louver system can be seen here covering perhaps
2/5 of the radiator, which acts as "cowl flaps" in the winter.
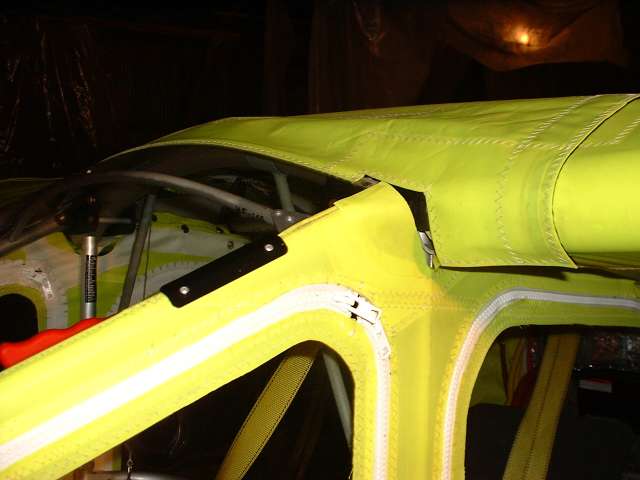
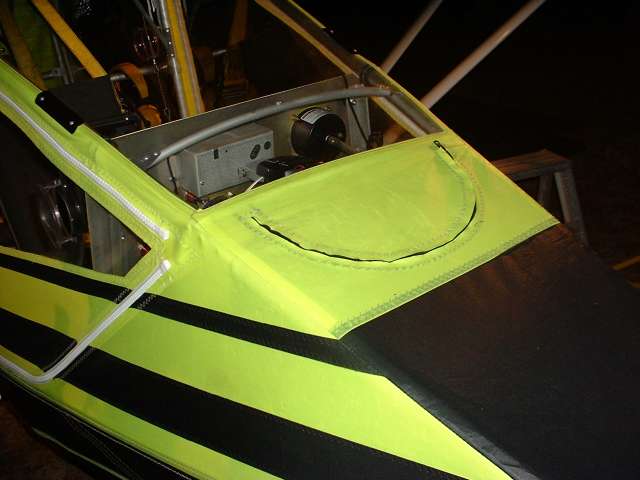
I cut small pieces of Dacron and Shoe Gooed them on to cover the rather
large gap between the windshield and the leading edge of the wing
to reduce airflow into the cabin in the winter.
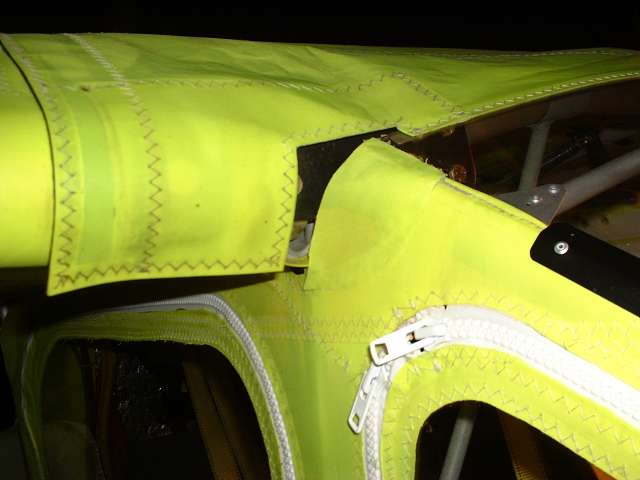
The cover on the opposite side

Visible in the instrument panel photo are my Sprint PocketPC Phone
(which is connected to the intercom system for making calls), ASI,
electric trim & indicator, circuit breakers, Icom A5 radio, Lowrance
Airmap 2000c with terrain, switches, compass, timer, ELT control,
slip indicator, and the Grand Rapids EIS (Engine Information System).
My MP3 player connects to the intercom, and when in use is attached
via velcro just below the Icom on the shelf I fabricated.

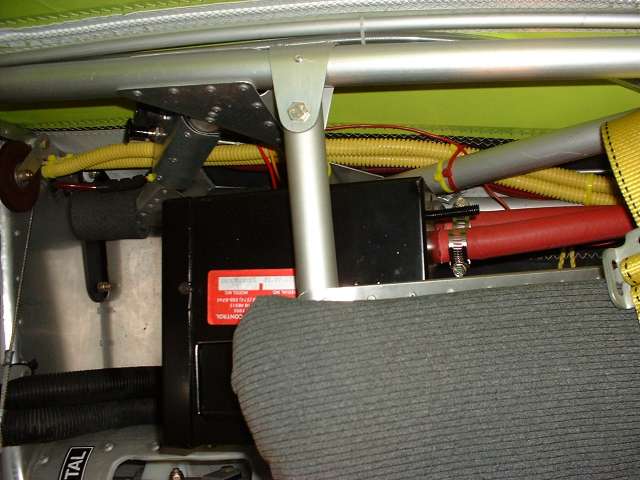
This is a view of the 13,000 BTU heater unit installed just below the
back seat. It uses coolant heated by the engine and has a two speed
integrated blower. The unit came from JC Whitney. I also added
two auto-size vacuum cleaner hoses that are used to route some
of hte air from the blower to the front. There are also two other
louvers on the unit which can be opened or closed as needed to
heat the passenger and the cabin.
Top view of the heater unit (front of the aircraft to the left), with
the controls in the upper left (mounted on a custom made panel)
and the water hoses going toward the back of the plane. Also visible
are the air hoses coming out from under the unit that are routed
to the front of hte plane to heat the pilot.
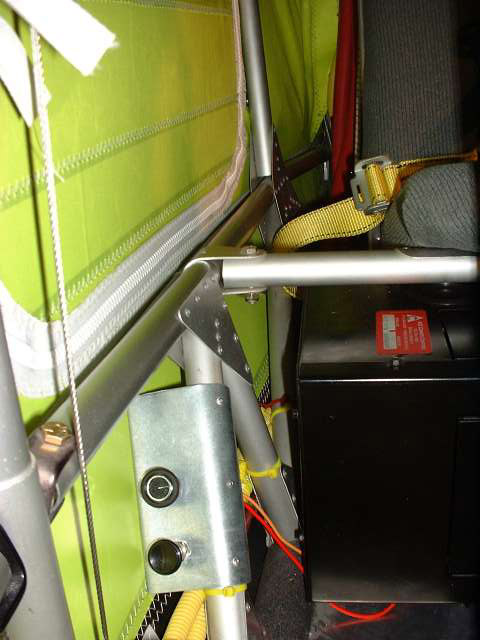
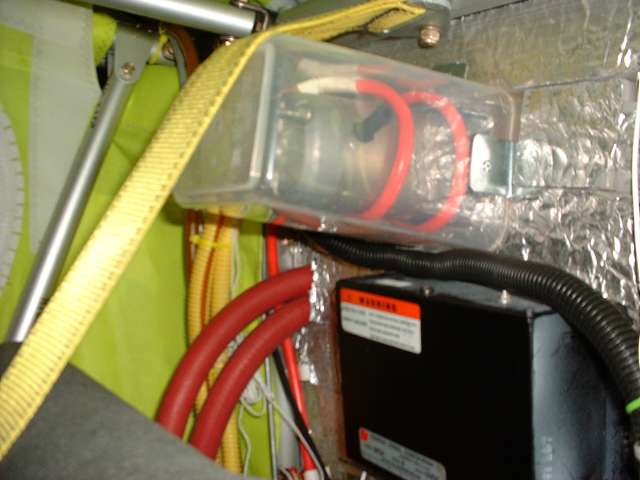
This is a view of the remote valve control which starts coolant flowing
through the heater system when needed, and the dual speed blower
switch. I made the mount for the controls out of sheet metal.
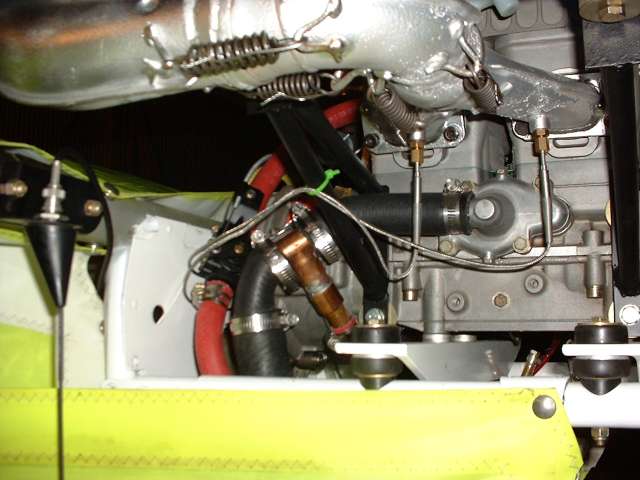
One of the copper Ts I made for the heater system are visible here. The Ts were
made from regular copper tubing available at most hardware stores. To the
left is the remotely controlled valve for the heater system (purchased at
Carquest) and the red heater hose. Ts are inserted both on the intake and
output sides of the heat system, which runs in parallel with the regular
water cooling system. The valve is on the output (carb) side.
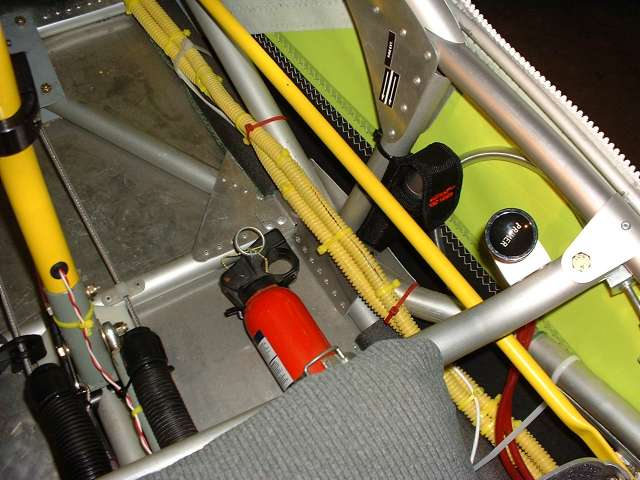
The heater air hoses can be seen on the left, on either side of the control stick.
You also see the fire extinguisher, primer control, louver control, and my
trusty LED flashlight.
The zipper "hood" sure comes in handy to work on the instrument panel
and wiring.
A plastic container was used to cover the Rotax 582 starter which protrudes
through the rear firewall. Its not perfect, but it gets the job
done... actually looks pretty good IRL.
Waiting for another flight... :)
Copyright ©2005
David A. Bottomley
|